This is my first Canadian Thanksgiving Day, and because I didn’t really know what this holiday is about, I decided to look around and see how it’s different from that of the Americans. Thanksgiving is a longstanding tradition, celebrated in Canada 45 years before the English colonists even set foot in Plymouth (now Massachusetts). The annual feast, which is celebrated on the second Monday of October, is to give thanks for the previous years’ blessings of good harvest. On the other hand, it’s American counterpart is celebrated on the forth Thursday of November. It was first held by Pilgrims to give thanks to God for having guided them safely into the new world, despite the turbulent weather they have had to face.So in honor of my first Thanksgiving here in Canada, here’s an easy DIY tutorial for embossed Thank You cards using embossing powder.


You will need:
- A Heat Tool (Heat Gun)
- Embossing powder
- Embossing ink or Pigment Ink
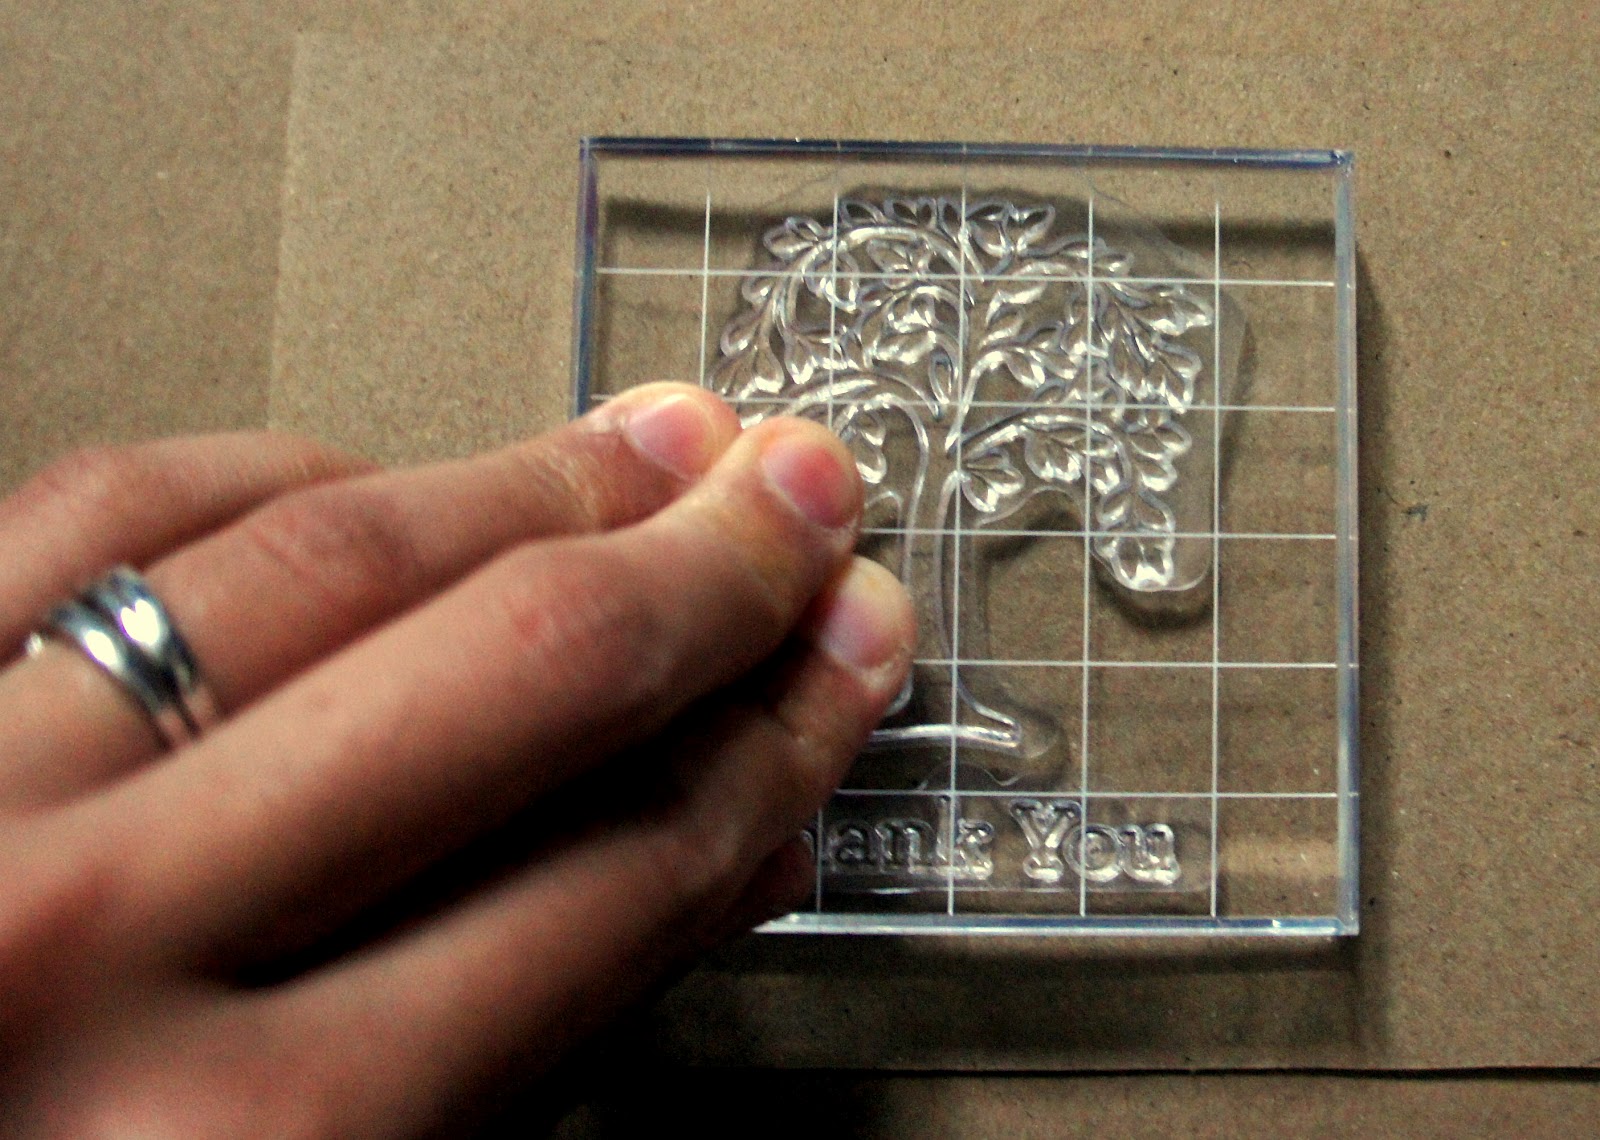
- Rubber Stamp
- Card stock trimmed to size
1. Ink the stamp, making sure that every part of the design is well-inked.
2. Stamp the design. Apply even pressure.
3. Pour embossing powder over the stamped image while the ink is still wet. Then, tap the excess embossing powder off (and yes, you can put excess powder back into the jar).
4. Apply heat with the heat gun. Try to keep the heat gun moving while the powder melts. As it melts, the powder changes color (note how in the stamped image went from dull to shiny in the image above).
5. You are DONE.
Tips & Warnings:
- The heat gun isn’t just warm. It’s HOT. So work on a heatproof surface and be careful not to burn yourself. DO NOT point the gun in your direction.
- Rubbing an anti-static cloth on the card stock before stamping can help avoid stray embossing powder. I usually use the tumble dryer sheets.
- If there are stray specks of embossing powder after tapping the excess off, use a fine paintbrush to brush it off.
- If working on a bigger embossed piece, work on heating a small area at a time.
Enjoy trying it out and Happy Thanksgiving!

I love this post, you make it look easy and professional at the same time, also like your post on finding your dream home, he house featured was lovely, wish we had homes like that in the UK!, Hannah
It’s really a lot easier than it seems. 🙂
Great tips! I love the bird one!
Cheers to new friends from BBN 🙂
Thank you! Went to you site as well and enjoyed your blog
i wish i had patience for this stuff! it would be fun to do, tho!
Like I said, it’s really a lot easier than you might think. If anything, the most difficult part was probably making sure that I had all the materials.
To a broke guy like me this is ace 🙂 will definately be making some cards this year as opposed to buying them . Plus it’s a great way to pass a rainy day love the blog doll 🙂
http://dtsar-tstar.blogspot.fr
That looks incredible. I didn’t know it could be that easy.